

When it comes time to start using up the bits of leftover fabric, I like to make a tote bag. Recently, I have begun making tote bags out of the leftover fabric from each quilt that I make. This makes a really cool gift bag for the quilt! If it's a good size, the bag can be used as a diaper bag or a shopping bag. Make it smaller for a lunch bag. Add straps to it and it can become a backpack. Once you get the basic technique down you can play with shape and size to make a designer handbags by adding flaps, buttons, zippers, pockets, etc.
To make one, the only thing I have to buy is a bit of craft weight stabilizer. You don't really need it, but the bag can be a bit floppy without it. Everything else is left over from the quilt. The first step is to decide how big you want it to be. I find that a queen-size quilt fits well into a bag that measures 6" deep, 12" wide, and 16" tall. This is also a good size for a reusable shopping bag.
Cutting List
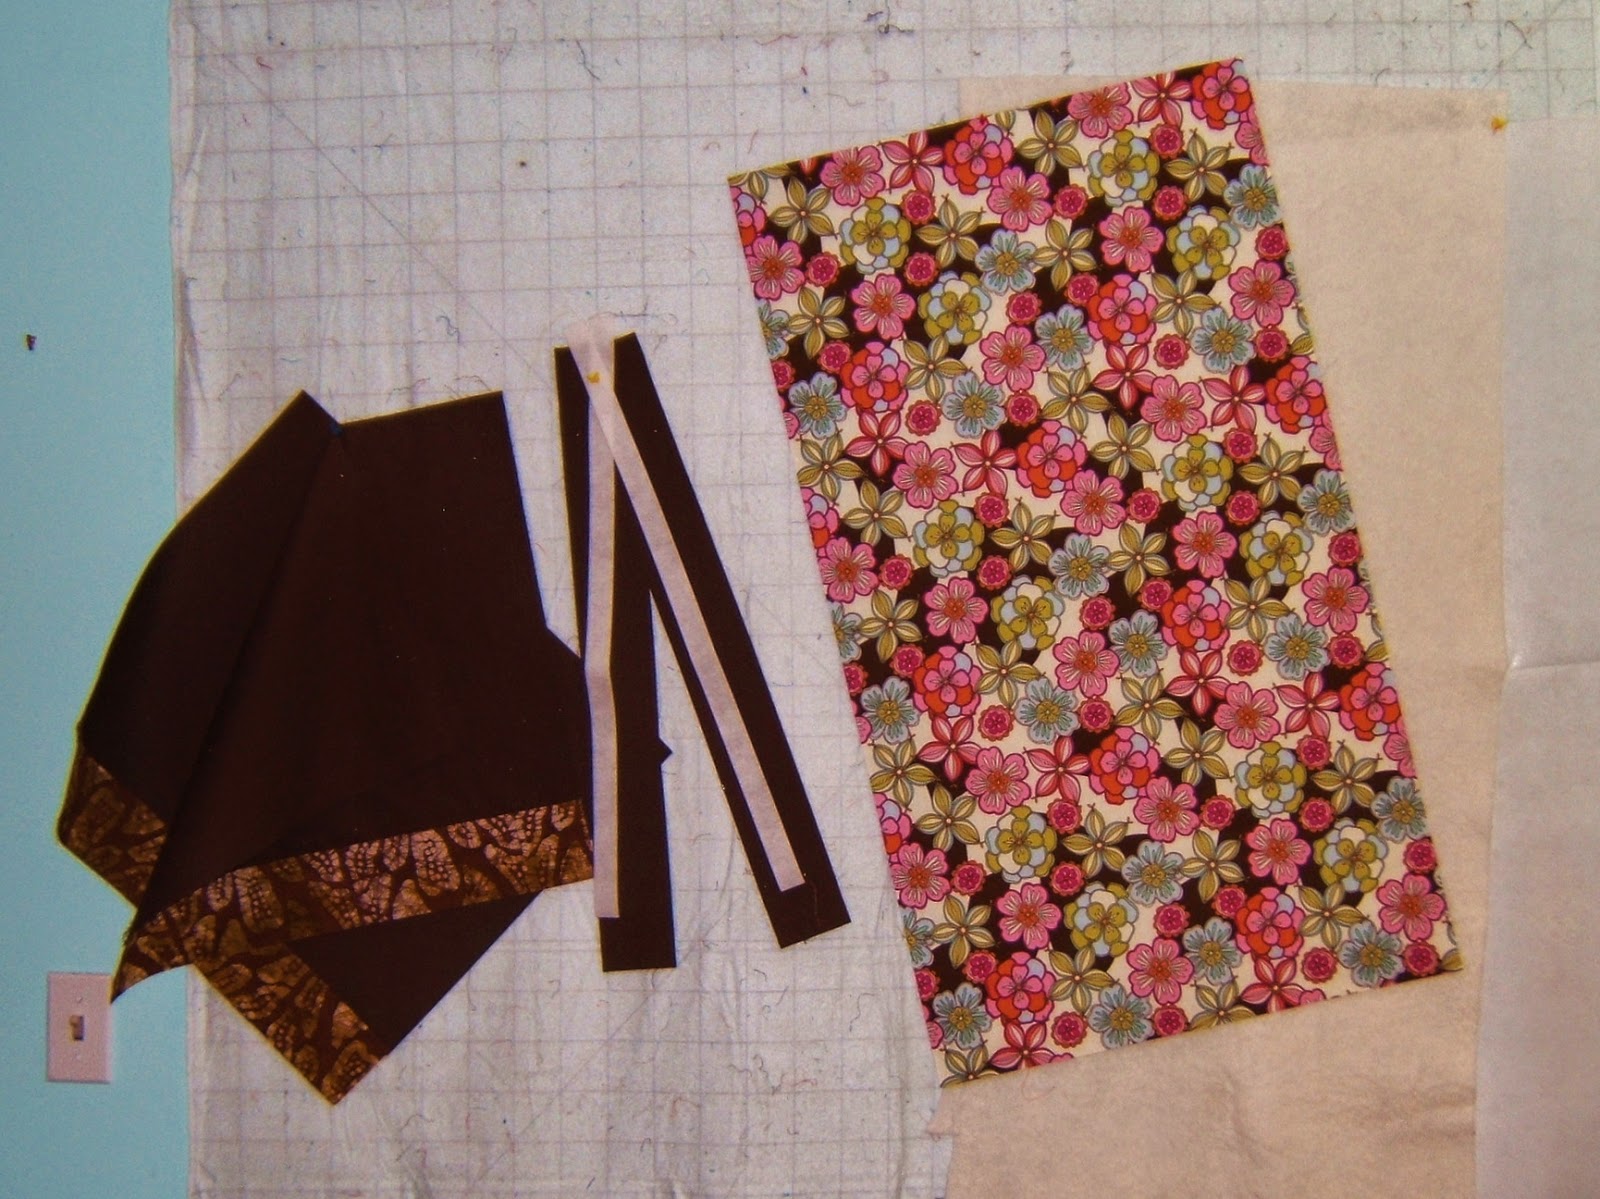 Front/Back - Cut one rectangle 21" wide by 37" tall
Batting - Cut one rectangle 21" wide by 43" tall
Interfacing - Cut one rectangle 21" wide by 43" tall
Lining - Cut two rectangles 21" wide by 20" tall
Straps - Cut two strips 3" wide by at least 25" long
interfacing - Cut two strips 1" wide by at least 24" long
Note: The front/back piece will form both the front and the back of the bag. If your pattern is directional, then add one inch, cut it in half, and then sew it together again so that the top of the pattern is at both ends of the rectangle.
The straps can be any length you want them to be... They just have to be the same length so that each handle ends up the same size in the end. Another option would be to purchase nylon webbing straps, but that would be something else to buy and wouldn't use up the stash of scraps!
All pieces are a bit over-sized to accommodate shrinkage during the quilting process. We will trim them to the correct dimension later.
Please also keep in mind that this is supposed to be scrappy. For this bag, I chose to use big pieces of fabrics from my stash so the pictures would clearly show the lining versus the front of the bag. I didn't have enough solid brown, so I added a strip of a batik that I had left over. Normally I would have assembled strips and scraps and leftover blocks to make the front/back piece.
 Technique
Make a quilt sandwich by layering the interfacing on the back, then the batting, and then the front/back rectangle. The batting and interfacing should extend 3" beyond both ends of the front/back piece.
 Quilt this piece as desired. I usually do straight line quilting because it's quick and easy, but this is a small quilt which makes it an ideal candidate to get creative and practice your free-motion quilting. I would also suggest you pull all your thread tails to the back of the quilt. The back side will be inside the bag and covered by the lining, so it's an easy place to hide the thread tails.
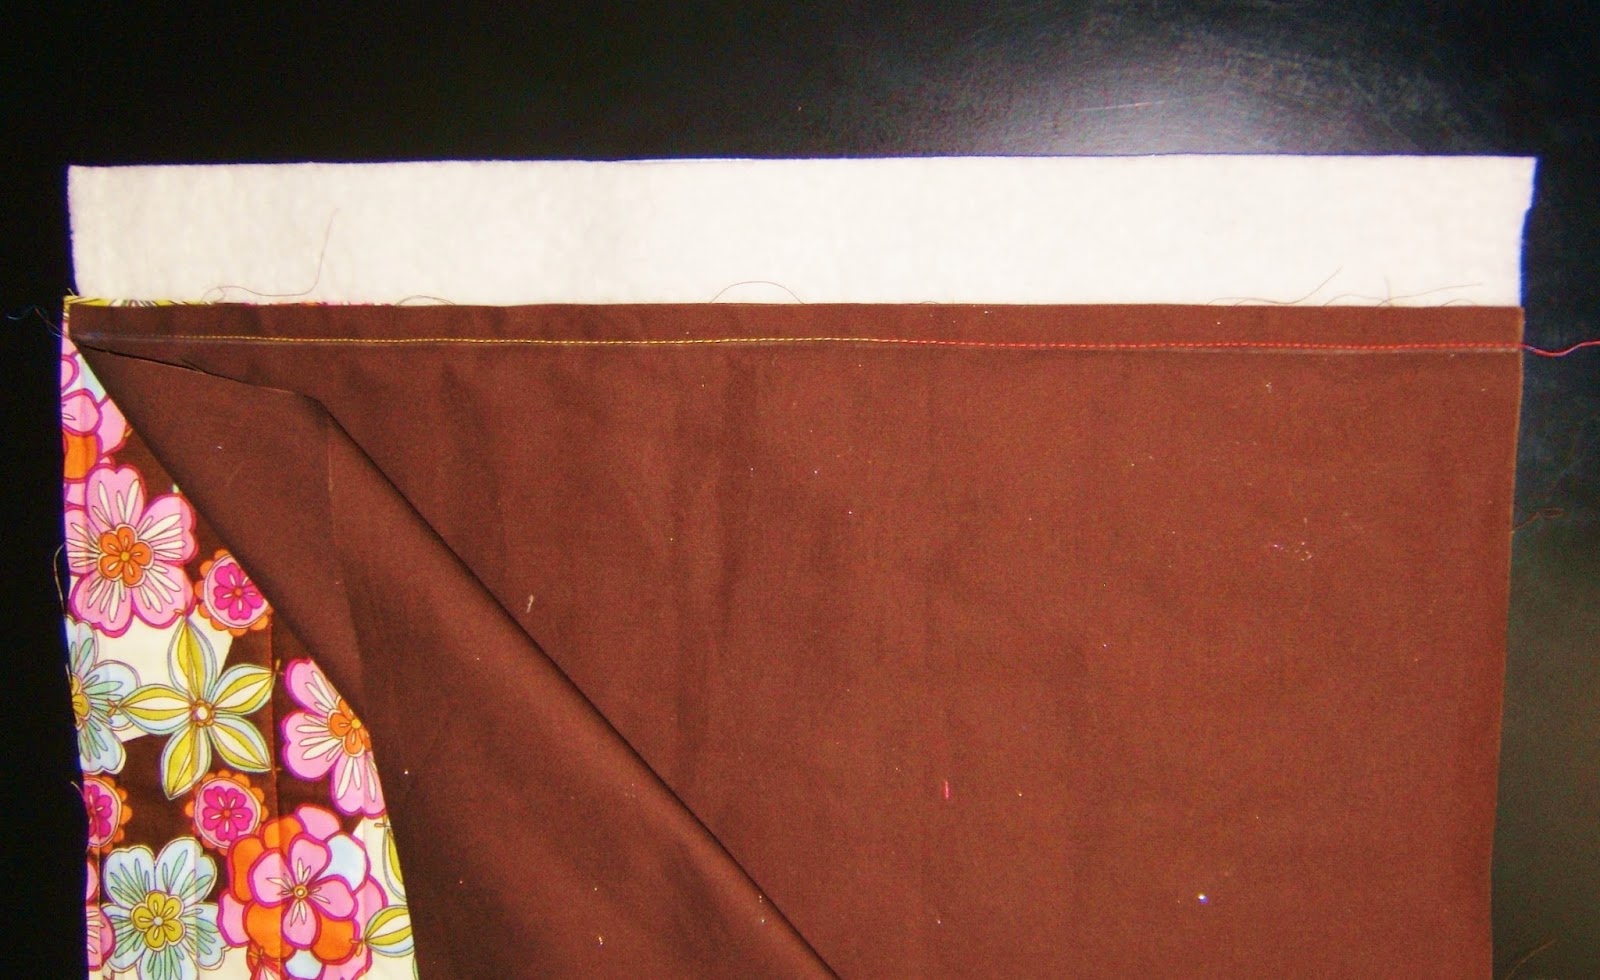 Now trim the top and bottom edges so they extend 2" above the raw edge of the quilt top.
With right sides together, align the lining fabric with the raw edge of the front fabric and stitch a half inch from the raw edge. Repeat on the other end. Press the lining fabric up to make a huge rectangle that measures 21" wide by 75" tall.

Mark a line 2" above the seam you just made (on the lining) and top-stitch on the line. This stitching should catch the loose layers of the batting and interfacing on the back of the quilt.

Fold the quilt in half (meeting right sides) carefully matching up the seams along both sides. Press a fold along the bottom edge.
Now use your rotary cutter to trim both sides of the bag so the sides are square to the bottom fold and the bag is 19" wide.
With the bag still folded, cut a 3" square from each corner of the lining fabric and cut two rectangles from the folded end that are 2 1/2" from the folded edge and 3" from the raw edge.
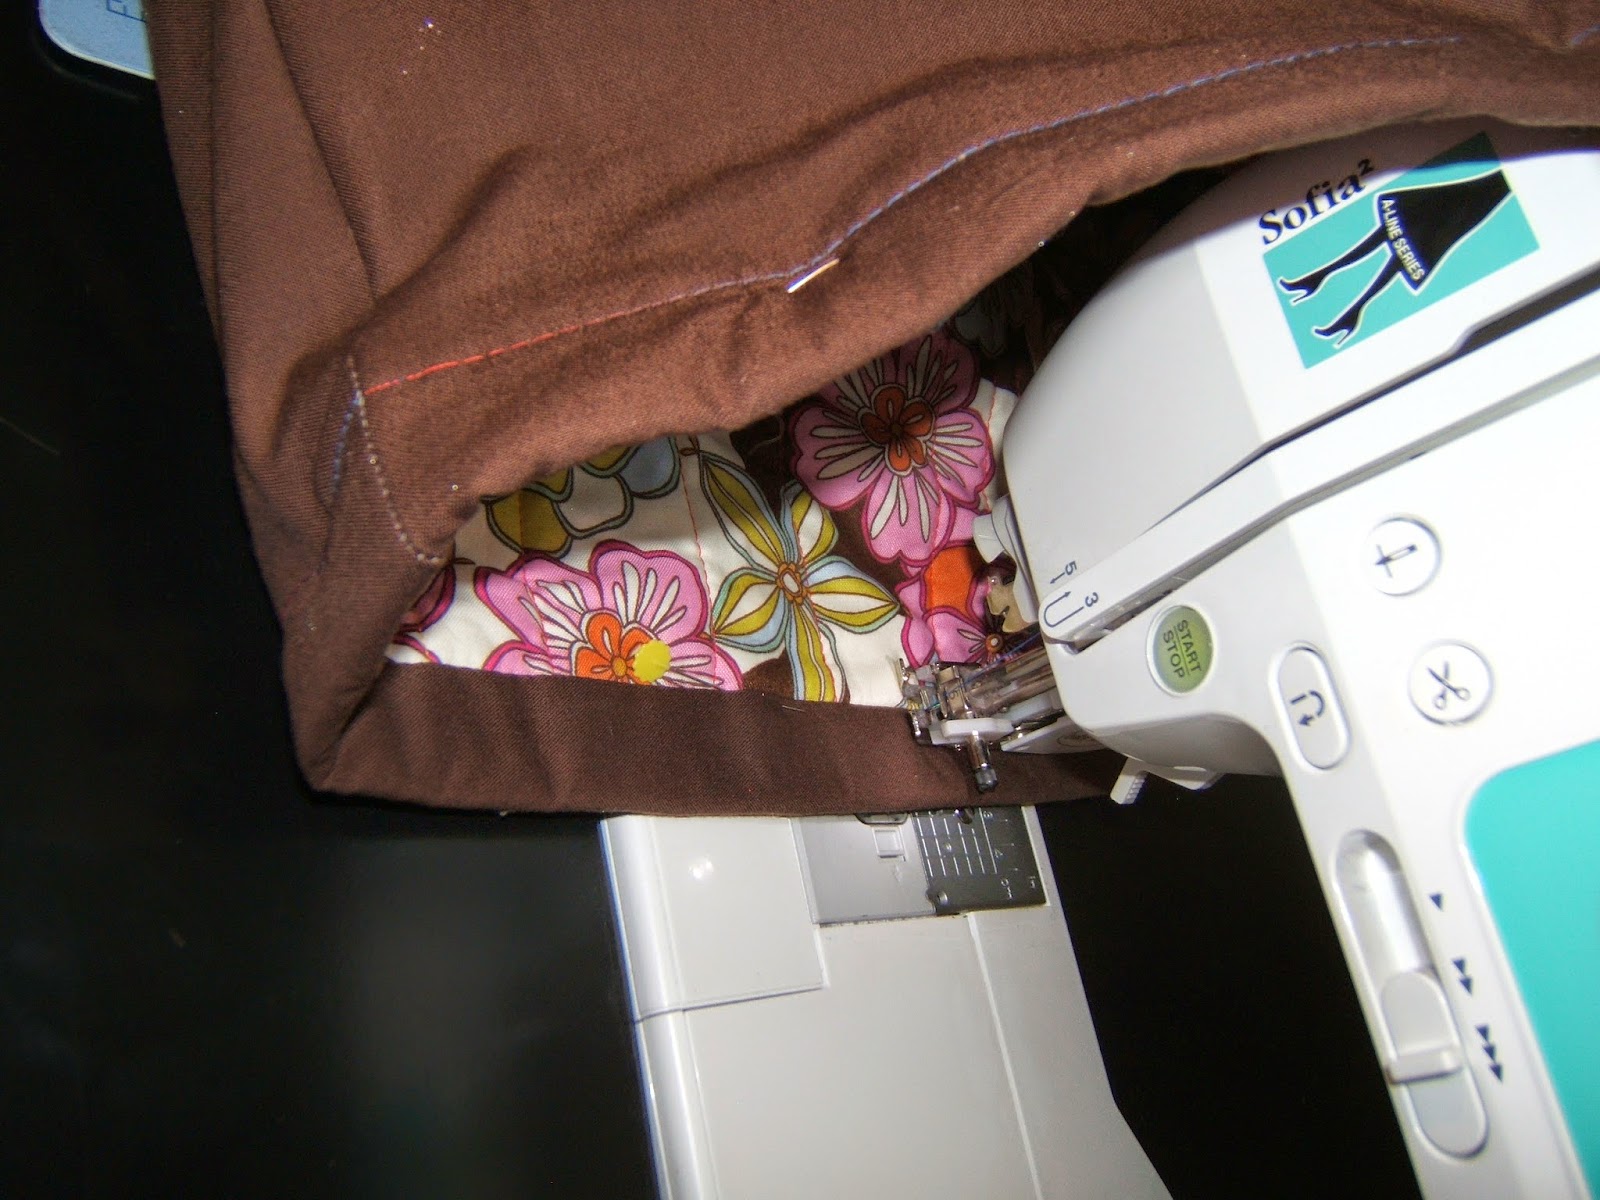
Carefully pin along both sides of the bag taking particular care to match all seam lines. Stitch with a half-inch seam. Do not stitch the end of the lining fabric or you will not be able to turn the bag right side out! If you have a serger, now is the time to use it. If not, just sew a half-inch seam and press the seam allowance open.


Now tuck the outer shell of the bag into the lining of the bag... so the bag is inside out. On each corner, line up all seam allowances with the fold of the bottom of the bag. Stitch along the raw edges with a half-inch seam allowance. Again, use your serger if you have one, otherwise use some binding strips to finish the raw edges.
Once both corners are finished, turn everything right-side out and press everything pretty. Then top stitch in the ditch from the front around the top edge of the bag.


Pin the straps to the front and back of the bag and top-stitch with a reinforcement stitch of your choice. I try to place the straps centered with 6" between each end, and about 2 1/2" from the top edge of the bag.

Your bag is complete!
By the way, the reinforcement stitches would look much nicer if you didn't use a variegated thread like I did! Try to match the thread color to your straps for a much neater appearance!
One more note about the handles of the bag. I am making this tote to use as a gift bag for one of our quilts. I am not too concerned about the strength of the handle. However, if I were planning to use the bag for heavy groceries, I would have done a much more secure handle using 1" nylon webbing. I would start with at least ten feet. After I quilted the front/back piece, but before I added the lining pieces, I would pin the webbing to the quilt surface and top-stitch it in place taking extra care to reinforce the stitching at the top edge of the bag. Then I would carefully pin the handles out of the way as I completed the bag. This method gives you handles that actually support the entire bag from the bottom up!
No comments:
Post a Comment